
 Image by riacale via Flickr
Step 1 - Students cut the perimeter squares off in order to leave a section with 9 squares, 3 across and 3 down.
Step 2 - Students followed drawing directions for King Tut using the 9 squares.
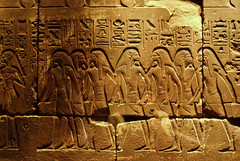
Step 3- Students were given examples of Egyptian hieroglyphs, then drew symbols on each of the 16 perimeter squares.
Step 4 - Students colored Tut with markers.
Step 5 - Students colored 8 perimeter squares with one color, and the other 8 perimeter squares with a different color.
Step 6 - Students cut squares apart and arranged them on 12" x 12" background paper.
Step 7 - Students glued down the squares.
See final Tuts here.
Thanks again Miss Julie for this lesson idea & Mrs. Venn's 6th grade Flamson Middle School students for their awesome effort:)


![Reblog this post [with Zemanta]](http://img.zemanta.com/reblog_e.png?x-id=9abb311d-d006-40d9-a4bb-18b8fa975401)
No comments:
Post a Comment