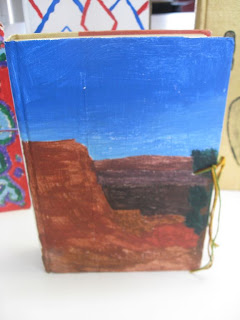
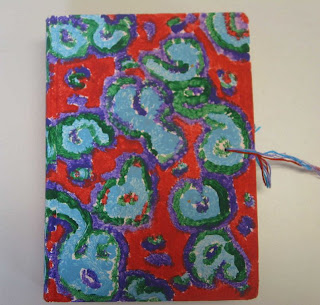
For this project,we used recycled hardbound books instead of canvas. I started collecting discarded books from my library in the fall, and had enough for all students by March.
Because I wanted the students to have the choice of standing or hanging the finished books on a wall, we started by drilling 2 holes in the back cover and using wire for a hook.
Then a single hole needed to be drilled through the entire book to secure the cover and pages with string, so it wouldn't flop open while hanging on a wall.
Since the books had various covers, we first painted the covers white. Note, the older red books bled into the white paint, so their primed background was pink. The kids got very worried, but found out later that acrylic will cover colors underneath, and they painted over the pink the next day with their subject or design.
After painting the books, students chose 3 colors of embroidery thread and used a needle to put the thread through the holes, one color at a time. Then threads were tied and the book was done.

(Side Note *HELP* - what kind of brushes do your students use with acrylic paints? Ours are horrible, and I'd like to purchase new ones. Any ideas on which ones I should get would be GREATLY appreciated.)
Because I wanted the students to have the choice of standing or hanging the finished books on a wall, we started by drilling 2 holes in the back cover and using wire for a hook.
Then a single hole needed to be drilled through the entire book to secure the cover and pages with string, so it wouldn't flop open while hanging on a wall.
Since the books had various covers, we first painted the covers white. Note, the older red books bled into the white paint, so their primed background was pink. The kids got very worried, but found out later that acrylic will cover colors underneath, and they painted over the pink the next day with their subject or design.
After painting the books, students chose 3 colors of embroidery thread and used a needle to put the thread through the holes, one color at a time. Then threads were tied and the book was done.

(Side Note *HELP* - what kind of brushes do your students use with acrylic paints? Ours are horrible, and I'd like to purchase new ones. Any ideas on which ones I should get would be GREATLY appreciated.)


