 Image via Wikipedia
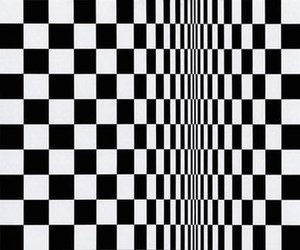
 This was the 3rd project in our series of Op Art lessons.....Students took their knowledge of creating "spheres" and added "cones" in the background. Big thanks to Jodi at One Crayola Short for sharing this super lesson. It's a great primer for getting students to really wrap their head around how adding "values" can truly make a big difference in their art! (My students are high school, but Jodi did this lesson w/ 5th graders -- Younger kids can handle this, they'll just need more direction and time.)
Step 1: Students followed same instruction for creating spheres as in sphere lesson.
Step 2: Draw and even number of diagonal lines emanating from a point somewhere near the middle of the page. Remind them to "jump over" their spheres.
Step 3: Students drew curved lines inside each cone shape, alternating between "smile" and "frown" curves on every other cone.
Step 4: Place black dots in the areas to be colored black, then colored them.
Step 5: Color the rest of the shapes being careful to darken the outsides of each shape and leave the middle lightest. (High values in the middle, and low values near the edges of each shape. Sometimes I even had the students put their finger in the middle of each shape to remind them not to color that area as dark.)

Big Thanks North County Christian High School Art Students, 2010-11!!!


 Here's a tutorial I found on drawing an eye, (so sorry I forgot to note the address and author). There are million eye drawing tutorials, but I thought this was a good one for beginners. We also spent some time looking at each other's eyes, what a great thing to do to break the ice on the first day of school!