Wednesday, December 1, 2010

Nature Art

When Bethany posted her student's work inspired by Andy Goldsworthy on her blog here, I sat up real straight and knew I'd be sharing her idea with my students.  I'm a huge Goldsworthy fan too!!

We read a bit about him, then we watched the video River's & Tides which I almost bought online, then quickly remembered to check the library.  (Yes, it was there and available.)  The movie is looonnng, so I did fast forward a bit at the end.  Then my students made their own Nature Art in groups, just using what they could find on school property.  The students also took photos of their art and wrote about it.
Thanks Bethany for sharing such a great idea.


Thanks No. Co. Christian high school art students!!!
Enhanced by Zemanta

Sunday, November 21, 2010

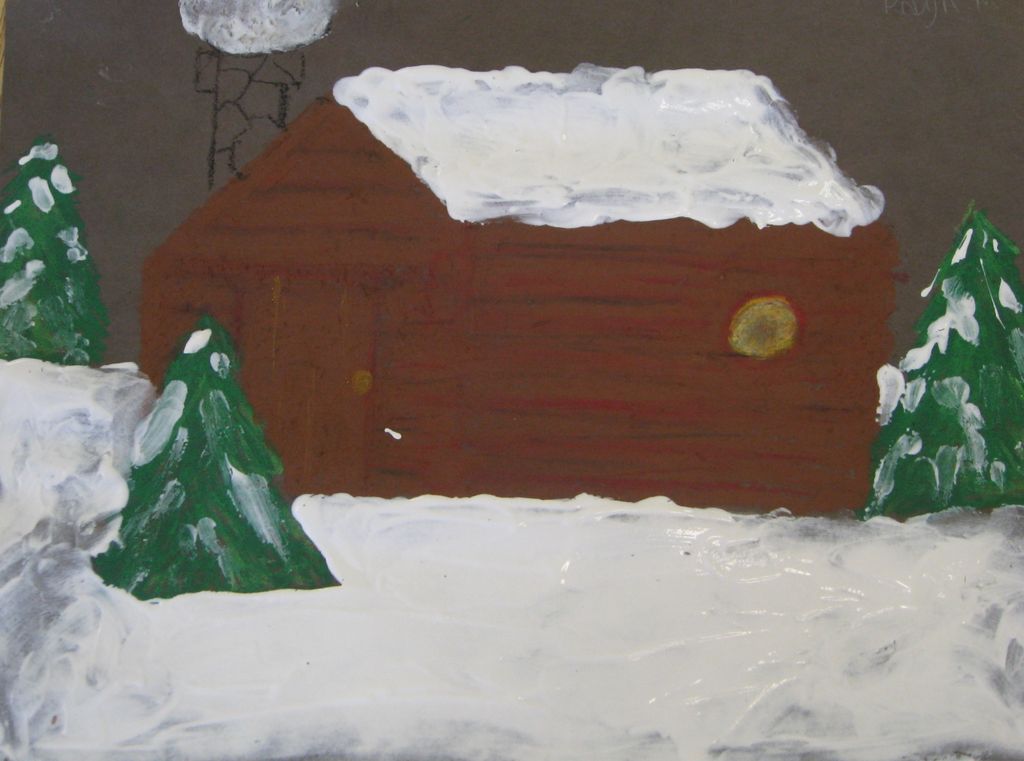
Snowy Cabins

 
Thanks to Linda Welling, Artsonia Teacher, for posting her students Log Cabin pictures!
I decided to do this lesson and it was cold and gray outside.  Then the following week, when we actually did the lesson, it was back to 78 degress, typical California weather.  Oh well, the kids had fun pretending it was  wintery weather!

Step 1: We drew triangle stacks for evergreen tree outlines.
Step 2:  We added thick green "hula skirts" on the bottom of each triangle on each tree.
Step 3:  We colored in the tops of the triangles.
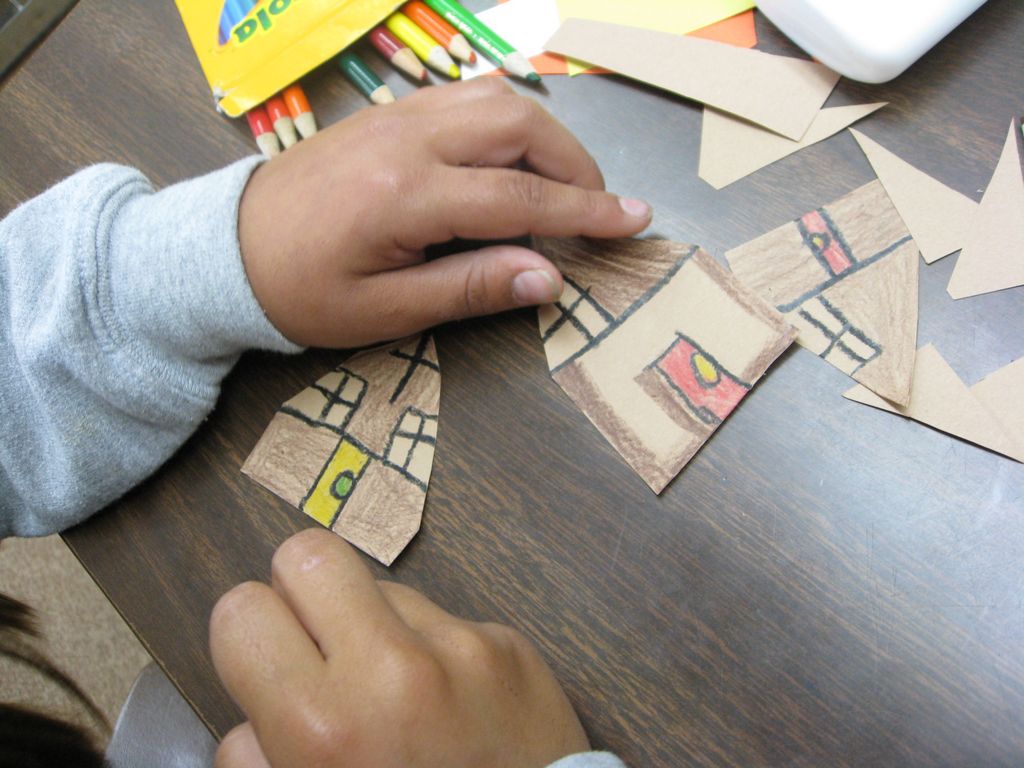
Step 4: We drew a simple cabin and some students had time to color.
Step 5: We painted on the snow, with our Fingers!  We used tempera paint.  (Hint tell students to use the lightest touch possible when adding the snow.  They don't want to end up with "fingerprints" on the trees, just bits of snow here and there.)


Big Thanks to Flamson Middle School Students!!!!

Thursday, November 11, 2010

Starry Night Collage

My students enjoy this collage version of Van Gogh's Starry Night, because they love making their own confetti to represent the swirly movement in the sky.

To make the confetti we first cut many skinny vertical cuts into about 3 pieces of paper at once.  These vertical cuts make the paper seem like "fringe" on the bottom.  Then make horizontal cuts across the fringe, and voila, confetti falls to the table.  It's best to have a cup or piece of paper under your cutting so you can corral the confetti for when it's time to drop it on your glue.
These examples were done by 3rd graders and high school students.


Thank you San Gabriel Elementary 3rd grade artists, and No. County christian High School artists!!
Enhanced by Zemanta

Wednesday, November 10, 2010

Oops, shouldn't have blamed Blogger.......

Red fox. Picture from Skandinavisk Dyrepark, D...Image via Wikipedia
For what it's worth Blogger-Buddies.............I quit using "Internet Explorer", switched to "Firefox" and those Blogger posting problems went away.

(Hmmmm, learning why I've heard the first one called "Internet Exploder".)
Enhanced by Zemanta

Monday, November 8, 2010

Kandinsky Kinders

Going into Kindergarten classrooms is such a treat.  The walls are ALWAYS covered with color and excitement.  I have to admit that there are times when I ignore the kids a bit while working because I want to relish and admire all that surrounds me in these rooms.....(shhhh, don't tell on me.)
Have you also found that Kandinsky never fails as art inspiration for students of any age?
Here we did the classic cutting and gluing circles.
Steps:
Provide a rectangle and 2 squares for the background.
Model putting smaller circles on top of bigger ones.
Give students colored paper and different size lids to trace and cut circles.


Thanks bunches to San Gabriel Elementary kinders!